安装方法
安装要求:
内存:512M以上,推荐768M以上(纯面板约占系统60M内存)
硬盘:300M以上可用硬盘空间(纯面板约占20M磁盘空间)
系统:CentOS 7.1+ (Ubuntu16.04+.、Debian9.0+),确保是干净的操作系统,没有安装过其它环境带的Apache/Nginx/php/MySQL/pgsql/gitlab/java(已有环境不可安装)
架构:x86_64(主流服务器均是此架构),ARM不完整兼容(面板环境安装慢,部分软件可能安装不上)
宝塔Linux面板7.9.3版本是基于Centos/Debian/Ubuntu开发的,为了最好的兼容性,请使用以上系统
Centos 8官方已经停止支持、如需安装建议更换Centos7系统或升级至Centos 8 Stream系统安装宝塔
升级教程:https://www.bt.cn/bbs/thread-82931-1-1.html
系统兼容性顺序:
系统兼容支持状况详情:https://docs.qq.com/sheet/DUm54VUtyTVNlc21H
以下主机商必看(开端口教程,不开不能用):
腾讯云:https://www.bt.cn/bbs/thread-1229-1-1.html
阿里云:https://www.bt.cn/bbs/thread-2897-1-1.html
华为云:https://www.bt.cn/bbs/thread-3923-1-1.html
**Linux面板7.9.3安装命令:
Centos 8官方已经停止支持、请更换Centos7系统或Centos 8 Stream系统安装宝塔
详细说明:https://www.bt.cn/bbs/thread-82931-1-1.html
Centos安装命令:
yum install -y wget && wget -O install.sh http://download.bt.cn/install/install_6.0.sh && sh install.sh 12f2c1d72试验性Centos/Ubuntu/Debian安装命令 独立运行环境(py3.7) 可能存在少量兼容性问题 不断优化中
curl -sSO http://download.bt.cn/install/install_panel.sh && bash install_panel.sh 12f2c1d72Ubuntu/Deepin安装命令:
wget -O install.sh http://download.bt.cn/install/install-ubuntu_6.0.sh && sudo bash install.sh 12f2c1d72Debian安装命令:
wget -O install.sh http://download.bt.cn/install/install-ubuntu_6.0.sh && bash install.sh 12f2c1d72Fedora安装命令:
wget -O install.sh http://download.bt.cn/install/install_6.0.sh && bash install.sh 12f2c1d72Linux面板7.9.3升级命令:
curl https://download.bt.cn/install/update_panel.sh|bash国产龙芯架构CPU安装命令:
支持龙芯架构的loongnix 8.3、统信UOS 20、kylin v10系统
wget -O install_panel.sh http://download.bt.cn/install/0/loongarch64/loongarch64_install_panel.sh && bash install_panel.sh 12f2c1d72以上节点无法使用的情况下,请使用下面的备用节点:
**备用节点【香港】:
yum install -y wget && wget -O install.sh http://116.213.43.206:5880/install/install_6.0.sh && sh install.sh**备用节点【美国】:
yum install -y wget && wget -O install.sh http://128.1.164.196:5880/install/install_6.0.sh && sh install.sh若点击更新后没生效,请尝试重启面板服务: bt restart
面板管理常用命令
安装宝塔
Centos安装脚本
yum install -y wget && wget -O install.sh http://download.bt.cn/install/install_6.0.sh && sh install.shUbuntu/Deepin安装脚本
wget -O install.sh http://download.bt.cn/install/install-ubuntu_6.0.sh && sudo bash install.shDebian安装脚本
wget -O install.sh http://download.bt.cn/install/install-ubuntu_6.0.sh && bash install.shFedora安装脚本
wget -O install.sh http://download.bt.cn/install/install_6.0.sh && bash install.sh管理宝塔
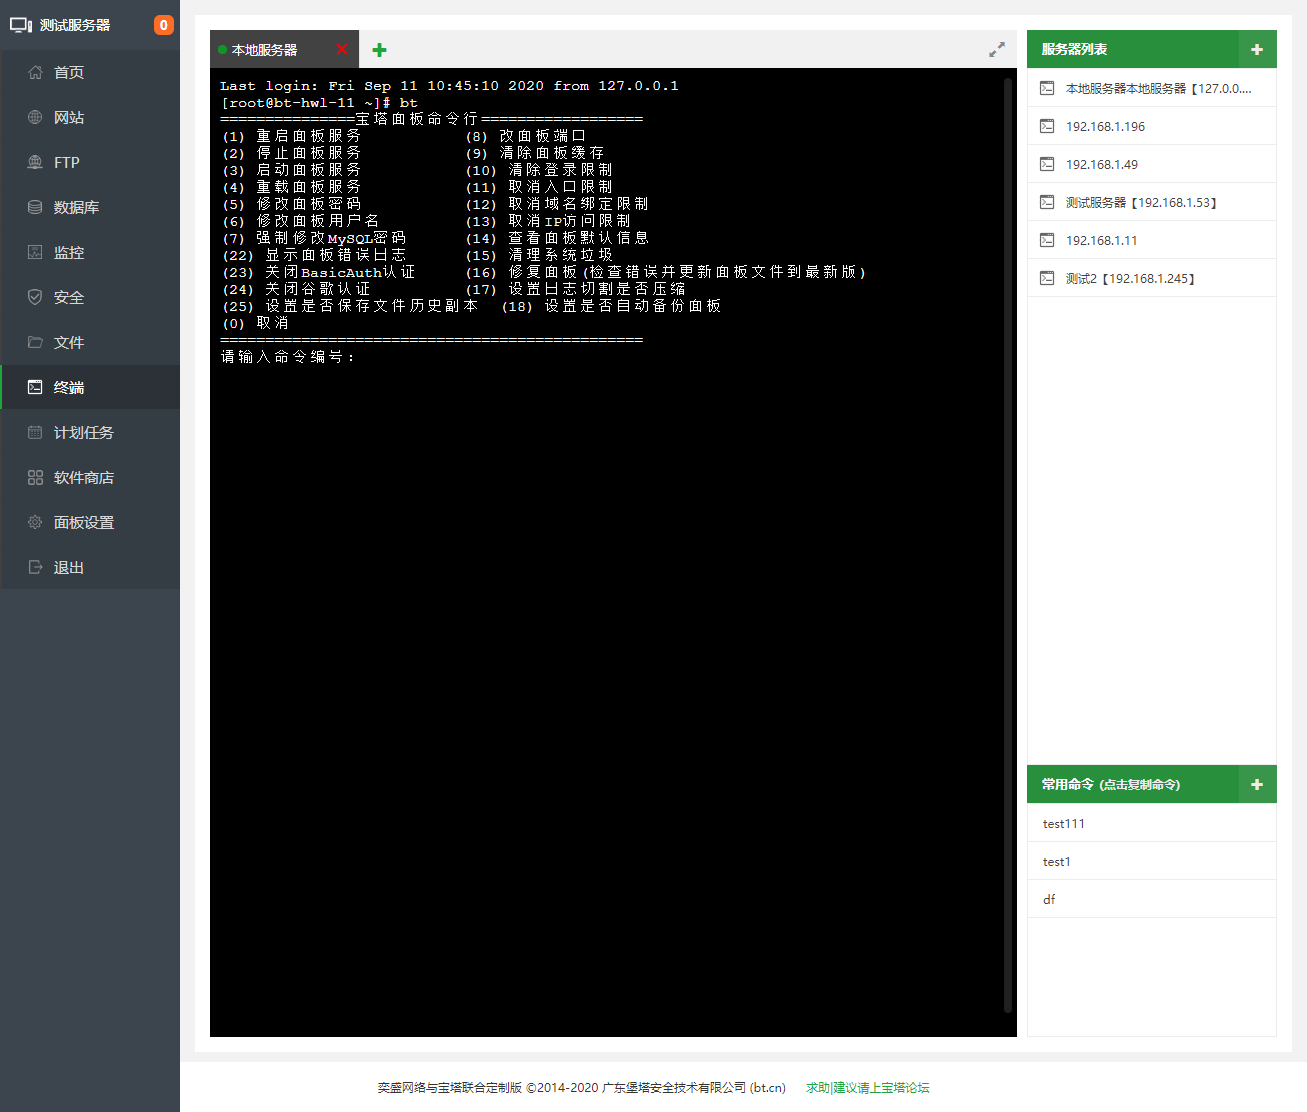
宝塔工具箱(包含下列绝大部分功能 直接ssh中执行bt命令 仅限6.x以上版本面板)
bt停止
/etc/init.d/bt stop启动
/etc/init.d/bt start重启
/etc/init.d/bt restart卸载
/etc/init.d/bt stop && chkconfig --del bt && rm -f /etc/init.d/bt && rm -rf /www/server/panel查看当前面板端口
cat /www/server/panel/data/port.pl修改面板端口,如要改成8881(centos 6 系统)
echo '8881' > /www/server/panel/data/port.pl && /etc/init.d/bt restart
iptables -I INPUT -p tcp -m state --state NEW -m tcp --dport 8881 -j ACCEPT
service iptables save
service iptables restart
修改面板端口,如要改成8881(centos 7 系统)
echo '8881' > /www/server/panel/data/port.pl && /etc/init.d/bt restart
firewall-cmd --permanent --zone=public --add-port=8881/tcp
firewall-cmd --reload
强制修改MySQL管理(root)密码,如要改成123456
cd /www/server/panel && python tools.py root 123456修改面板密码,如要改成123456
cd /www/server/panel && python tools.py panel 123456查看宝塔日志
cat /tmp/panelBoot.pl查看软件安装日志
cat /tmp/panelExec.log站点配置文件位置
/www/server/panel/vhost删除域名绑定面板
rm -f /www/server/panel/data/domain.conf清理登陆限制
rm -f /www/server/panel/data/*.login查看面板授权IP
cat /www/server/panel/data/limitip.conf关闭访问限制
rm -f /www/server/panel/data/limitip.conf查看许可域名
cat /www/server/panel/data/domain.conf关闭面板SSL
rm -f /www/server/panel/data/ssl.pl && /etc/init.d/bt restart查看面板错误日志
cat /tmp/panelBoot查看数据库错误日志
cat /www/server/data/*.err站点配置文件目录(nginx)
/www/server/panel/vhost/nginx站点配置文件目录(apache)
/www/server/panel/vhost/apache站点默认目录
/www/wwwroot数据库备份目录
/www/backup/database站点备份目录
/www/backup/site站点日志
/www/wwwlogsNginx服务管理
nginx安装目录
/www/server/nginx启动
/etc/init.d/nginx start停止
/etc/init.d/nginx stop重启
/etc/init.d/nginx restart启载
/etc/init.d/nginx reloadnginx配置文件
/www/server/nginx/conf/nginx.confApache服务管理
apache安装目录
/www/server/httpd启动
/etc/init.d/httpd start停止
/etc/init.d/httpd stop重启
/etc/init.d/httpd restart启载
/etc/init.d/httpd reloadapache配置文件
/www/server/apache/conf/httpd.confMySQL服务管理
mysql安装目录
/www/server/mysqlphpmyadmin安装目录
/www/server/phpmyadmin数据存储目录
/www/server/data启动
/etc/init.d/mysqld start停止
/etc/init.d/mysqld stop重启
/etc/init.d/mysqld restart启载
/etc/init.d/mysqld reloadmysql配置文件
/etc/my.cnfFTP服务管理
ftp安装目录
/www/server/pure-ftpd启动
/etc/init.d/pure-ftpd start停止
/etc/init.d/pure-ftpd stop重启
/etc/init.d/pure-ftpd restartftp配置文件
/www/server/pure-ftpd/etc/pure-ftpd.confPHP服务管理
php安装目录
/www/server/php启动(请根据安装PHP版本号做更改,例如:/etc/init.d/php-fpm-54 start)
/etc/init.d/php-fpm-{52|53|54|55|56|70|71|72|73|74} start停止(请根据安装PHP版本号做更改,例如:/etc/init.d/php-fpm-54 stop)
/etc/init.d/php-fpm-{52|53|54|55|56|70|71|72|73|74} stop重启(请根据安装PHP版本号做更改,例如:/etc/init.d/php-fpm-54 restart)
/etc/init.d/php-fpm-{52|53|54|55|56|70|71|72|73|74} restart启载(请根据安装PHP版本号做更改,例如:/etc/init.d/php-fpm-54 reload)
/etc/init.d/php-fpm-{52|53|54|55|56|70|71|72|73|74} reload配置文件(请根据安装PHP版本号做更改,例如:/www/server/php/52/etc/php.ini)
/www/server/php/{52|53|54|55|56|70|71|72|73|74}/etc/php.iniRedis服务管理
redis安装目录
/www/server/redis启动
/etc/init.d/redis start停止
/etc/init.d/redis stopredis配置文件
/www/server/redis/redis.confMemcached服务管理
memcached安装目录
/usr/local/memcached启动
/etc/init.d/memcached start停止
/etc/init.d/memcached stop重启
/etc/init.d/memcached restart启载
/etc/init.d/memcached reloadLinux面板升级命令:
curl http://download.bt.cn/install/update6.sh|bash
以上节点无法使用的情况下,请使用下面的备用节点:
若点击更新后没生效,请尝试重启面板服务:bt restart
卸载宝塔面板
注:卸载环境可能会影响服务器数据 请谨慎操作!
1.进入ssh 输入以下命令下载脚本
wget http://download.bt.cn/install/bt-uninstall.sh
2.执行脚本 (若是ubutnu用户请在前面加sudo 例子sudo sh bt-uninstall.sh)
sh bt-uninstall.sh
3.根据提示输入1或2后按回车清理面板或环境 (若输入其他值或不输入直接回车则只卸载面板)
安装宝塔linux面板时出现源错误的解决方法
宝塔一键迁移API版本 3.0版本教程
此插件仅用于将当前机器数据迁移出去,数据接收机器无需安装此插件。
注意事项:
当前教程仅适用《宝塔一键迁移API版本》插件,版本号 =>3.0。
推荐迁移面板版本 >= 6.9.5,低版本迁移可能存在部分数据无法迁移成功。
面板版本5.9使用该迁移,仅支持当前网站数据迁移到6.x版本,不支持5.x迁移5.x。
不支持跨系统平台迁移,比如Linux迁移到Windows,或者Windows迁移到Linux,不支持。
关键词说明:
发送数据服务器:当前需要进行数据迁移的服务器,其他名称:迁出服务器。
接收数据服务器:当前用于接收数据的服务器,其他名称:迁入服务器。
API秘钥:面板提供的外部调用接口。
API秘钥IP白名单:用于授权指定IP使用面板API秘钥。
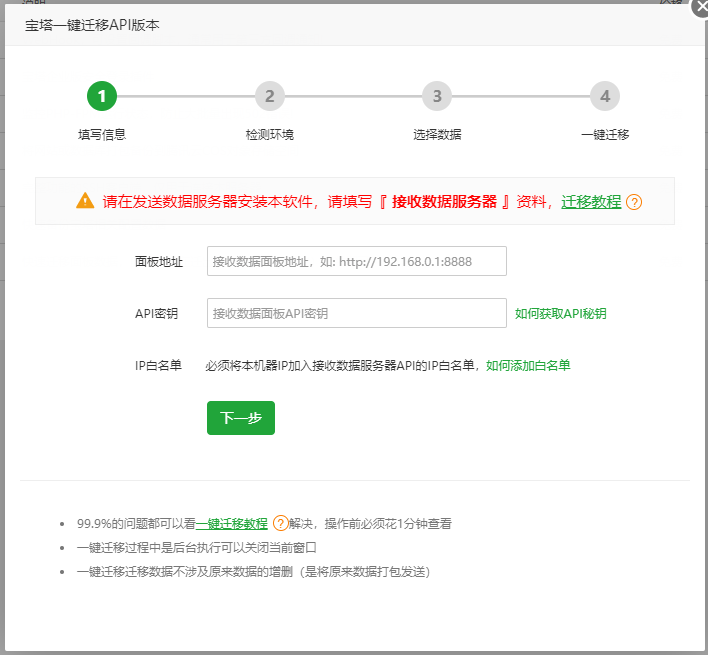
填写一键迁移配置信息,这里必须强调是接收服务器信息、接收服务器信息、接收服务器信息(重要的事情说三遍)。
目标面板地址:
面板地址包含 协议 + 主机IP地址 + 面板端口
目标面板API密钥:
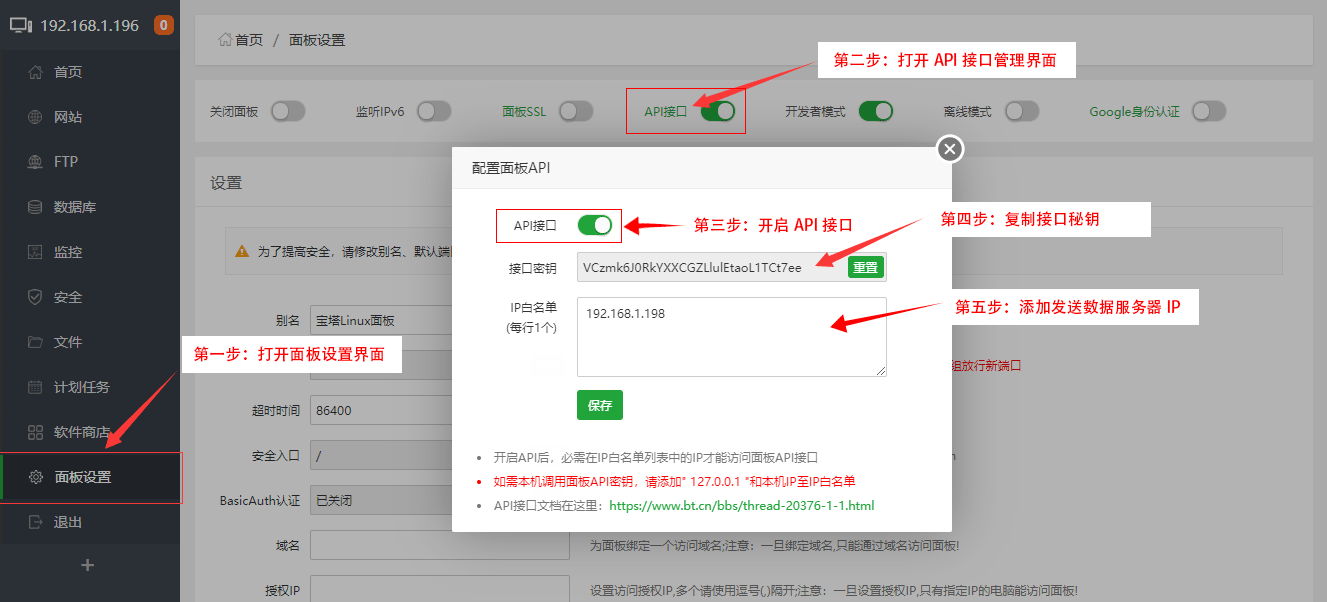
获取API秘钥,需要登录接收数据面板并开启API接口(已开启的请忽略),第四步的接口密钥,就是API密钥,复制并粘贴到一键迁移信息 > API密钥中既可,如图:
注意事项:API接口密钥为随机生成,请勿随意点击重置按钮,点击重置后,以前生成的密钥将会失效,迁移所需要的API密钥也要重新添加,请须知。
添加目标面板API密钥IP白名单:
添加IP白名单,需要在API密钥下的IP白名单添加当前本机IP地址(发送数据服务器IP),如图第五步:
注意事项:经过数据分析有部分用户未在API配置中添加IP白名单,导致无法迁移并提示目标面板无法连接。
填写完以上资料后,确认信息无误后,点击下一步,剩下的操作,均不需要填写外部参数,请根据个人需求,选择站点,数据库,FTP进行迁移,如遇到其他问题,请联系宝塔运维帮助。
部分功能预览图
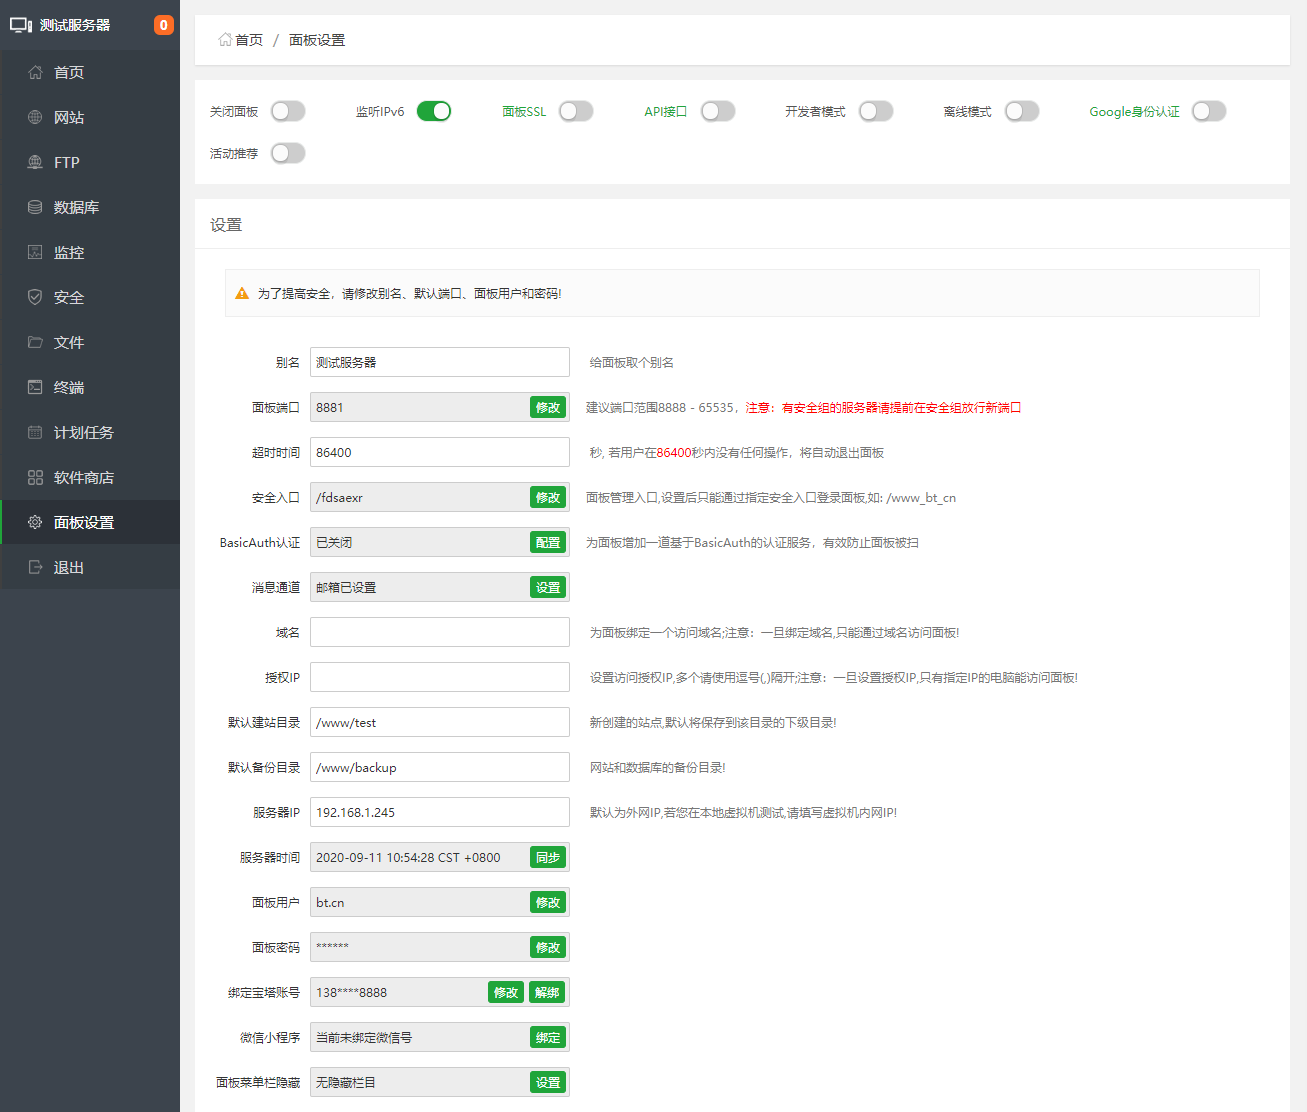
面板设置
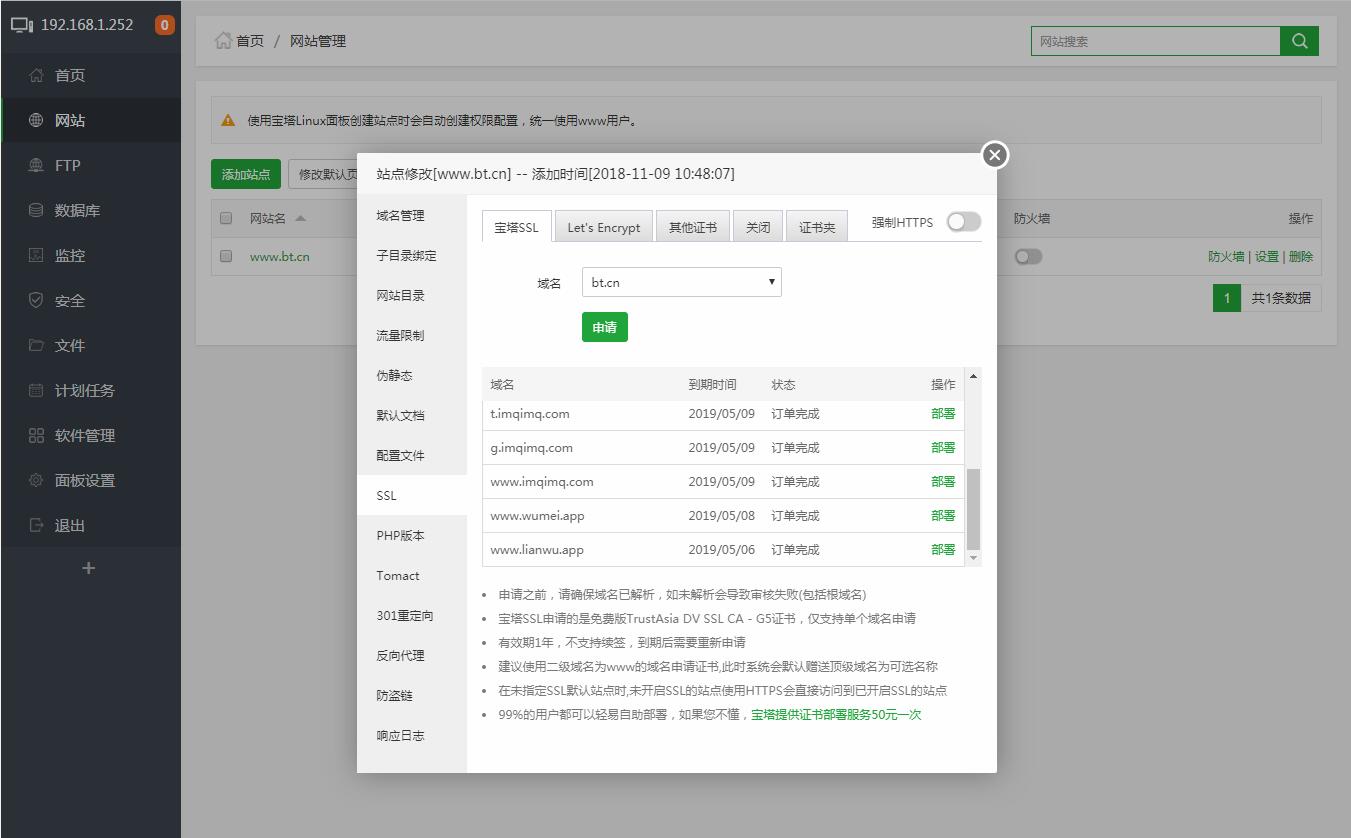
SSL
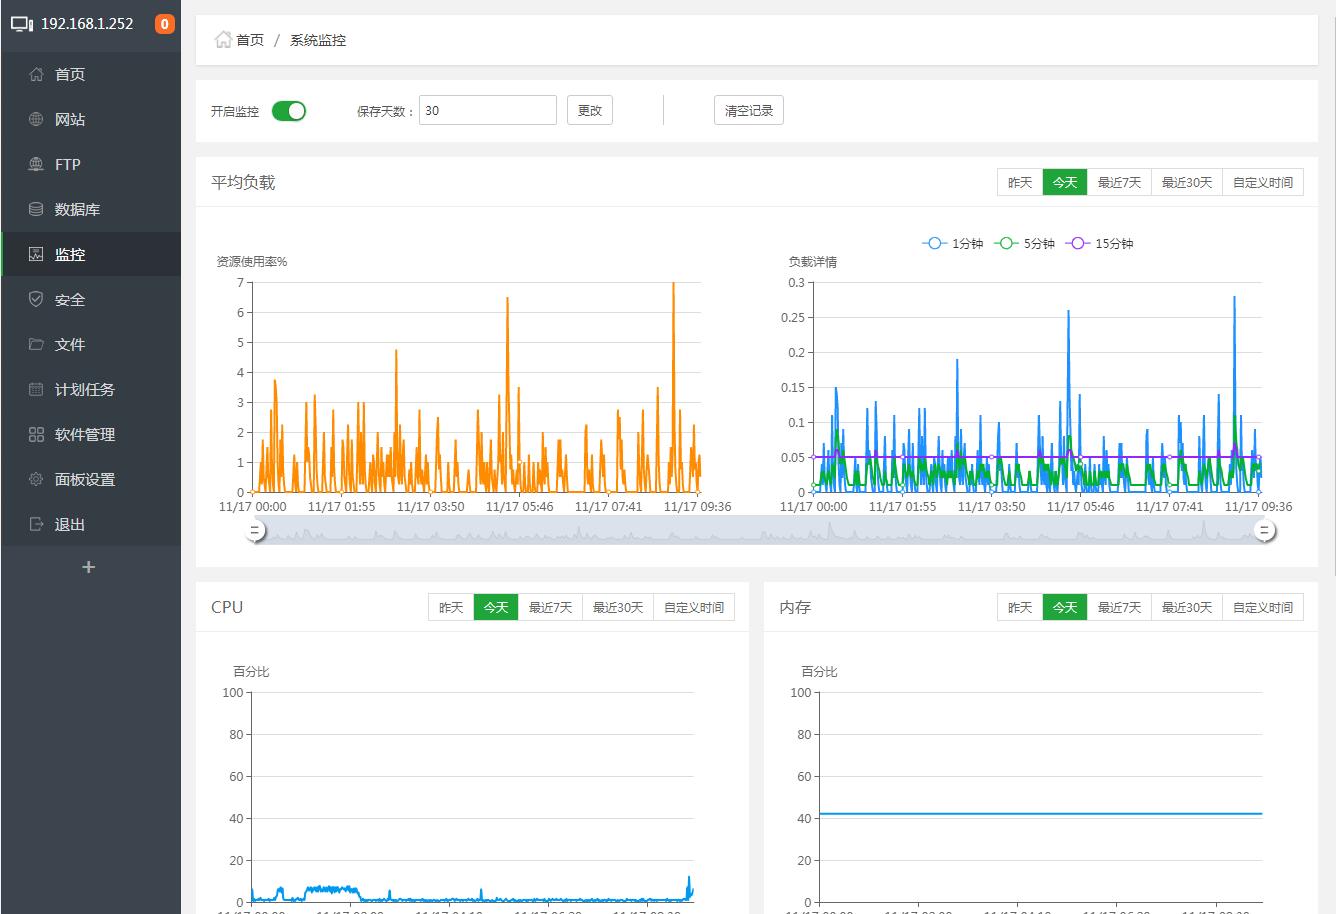
监控
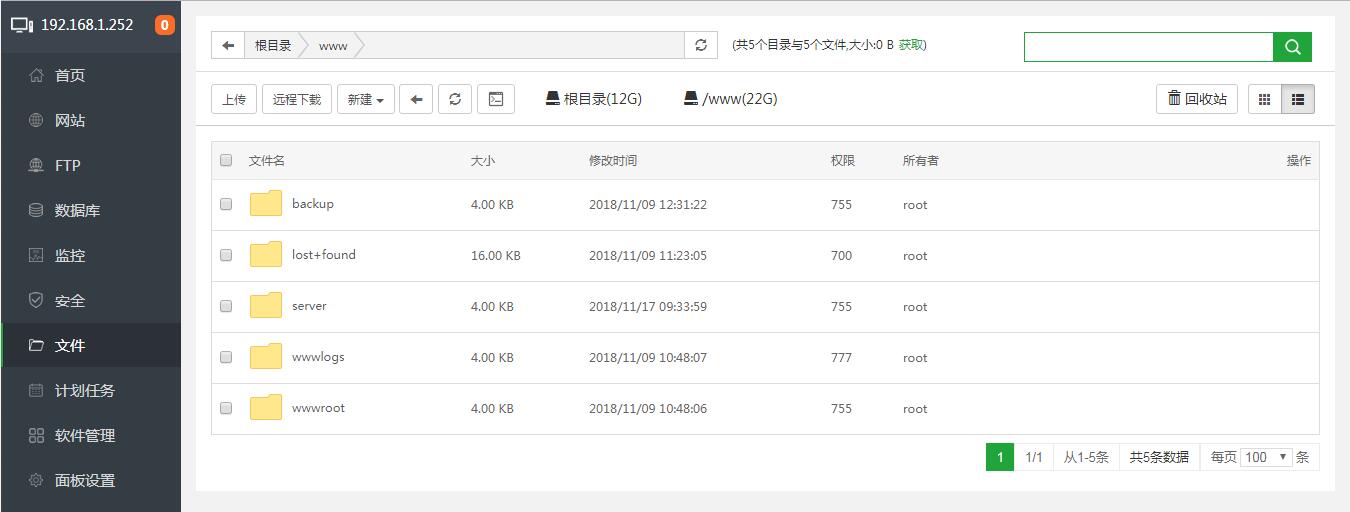
文件管理
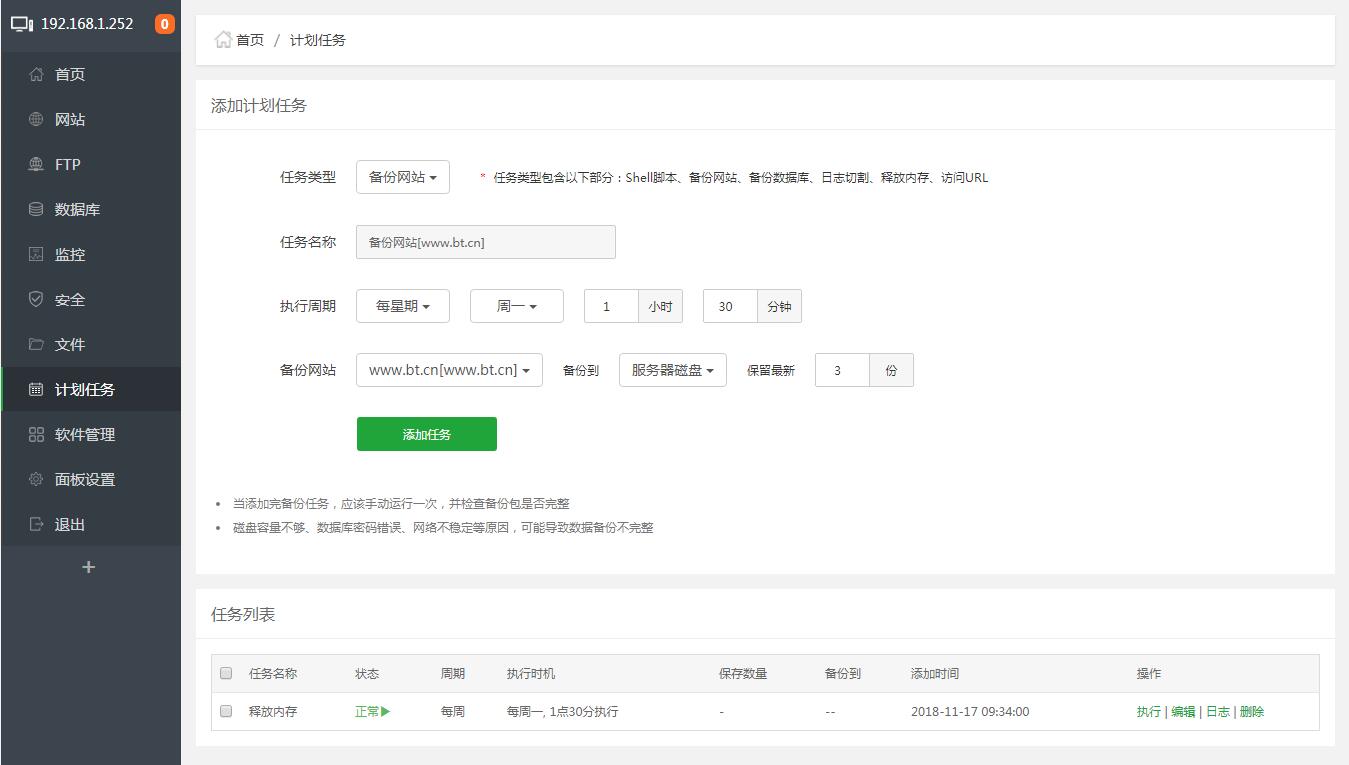
计划任务
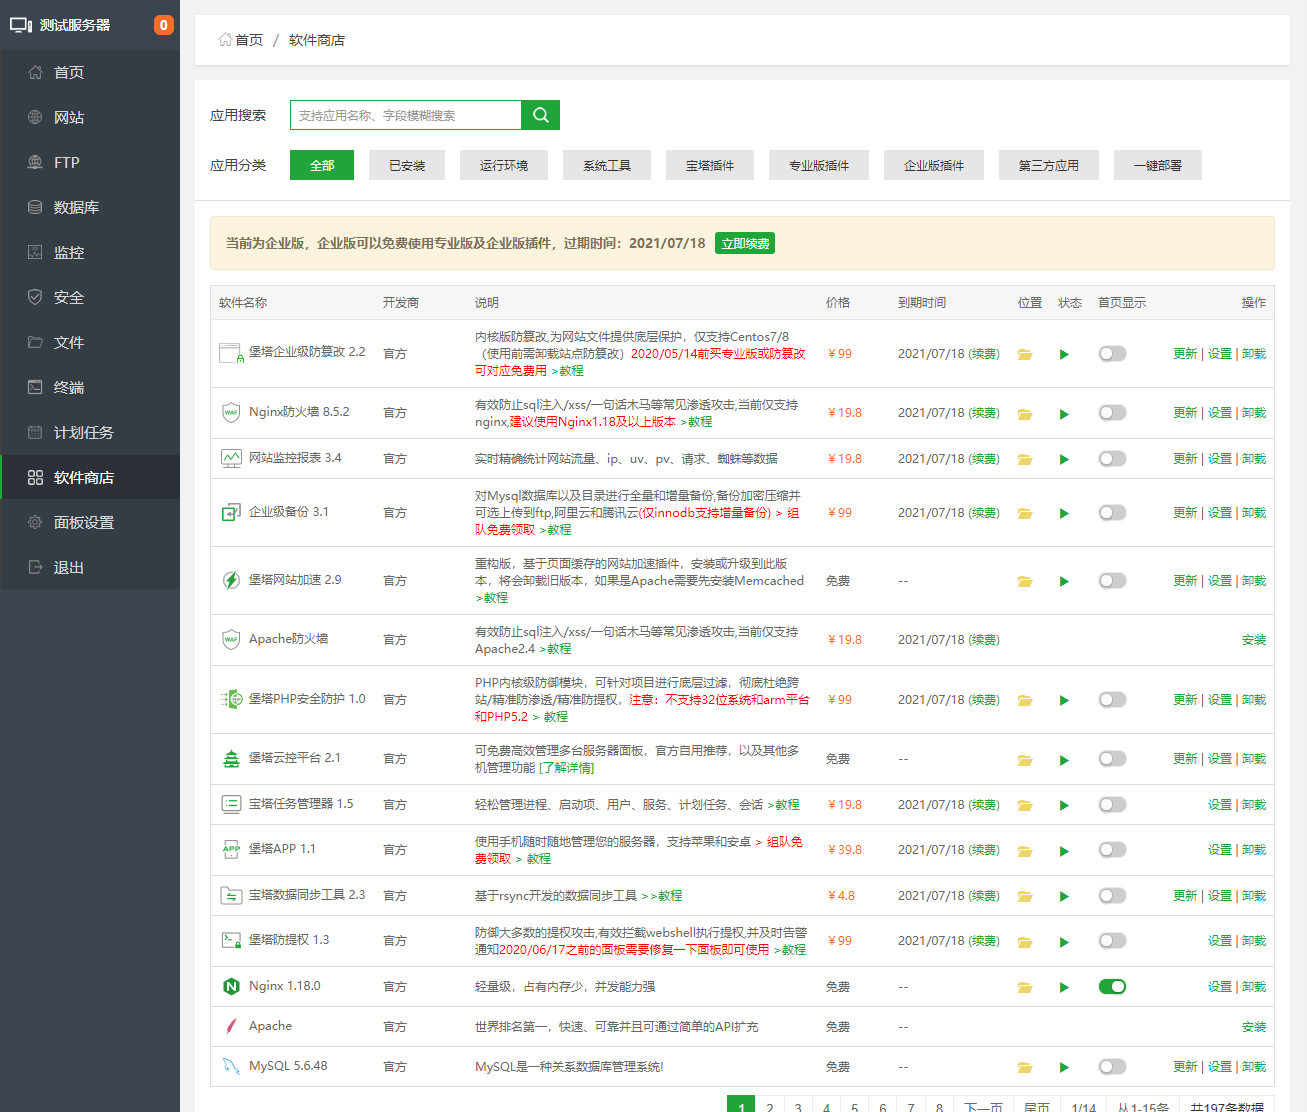
软件管理
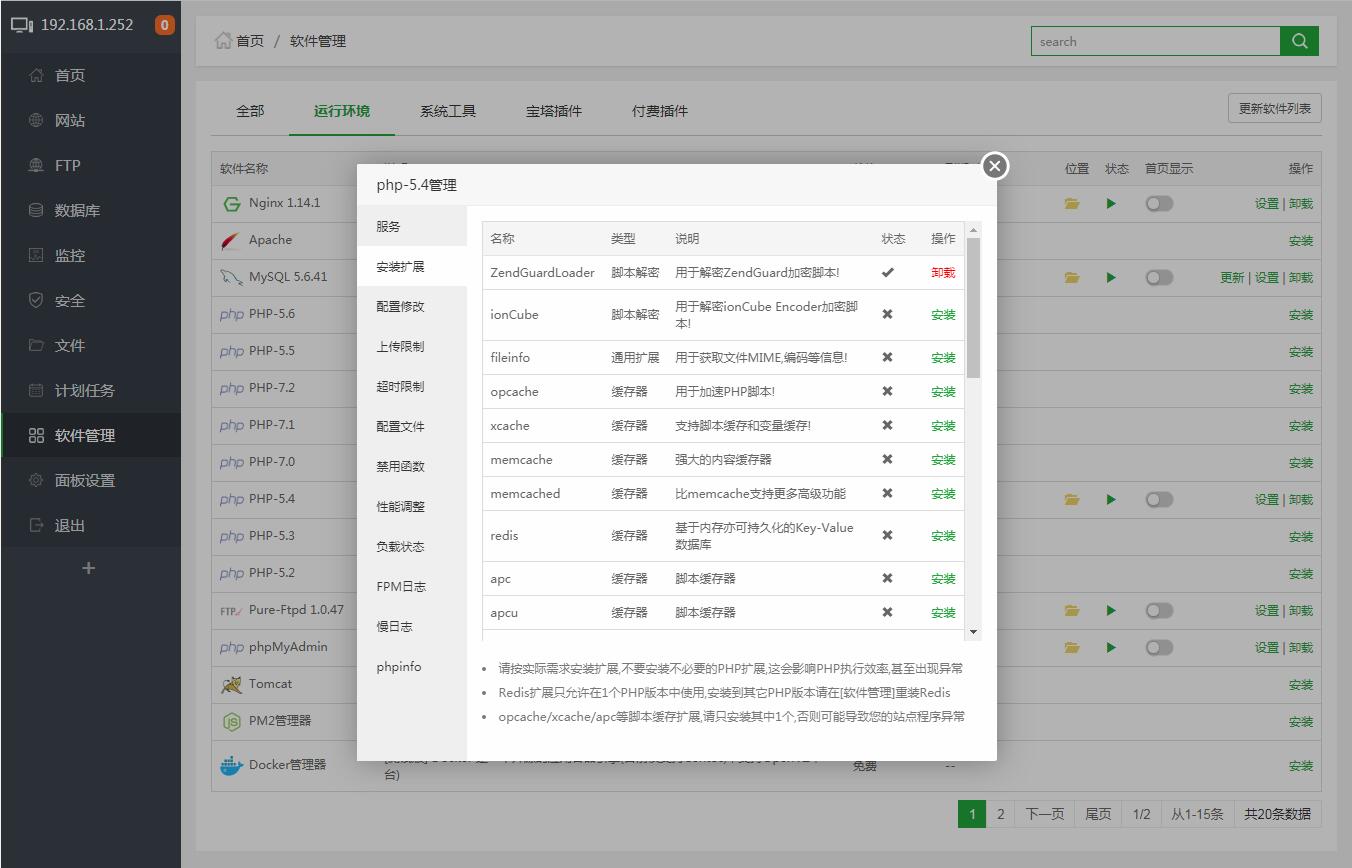
PHP扩展
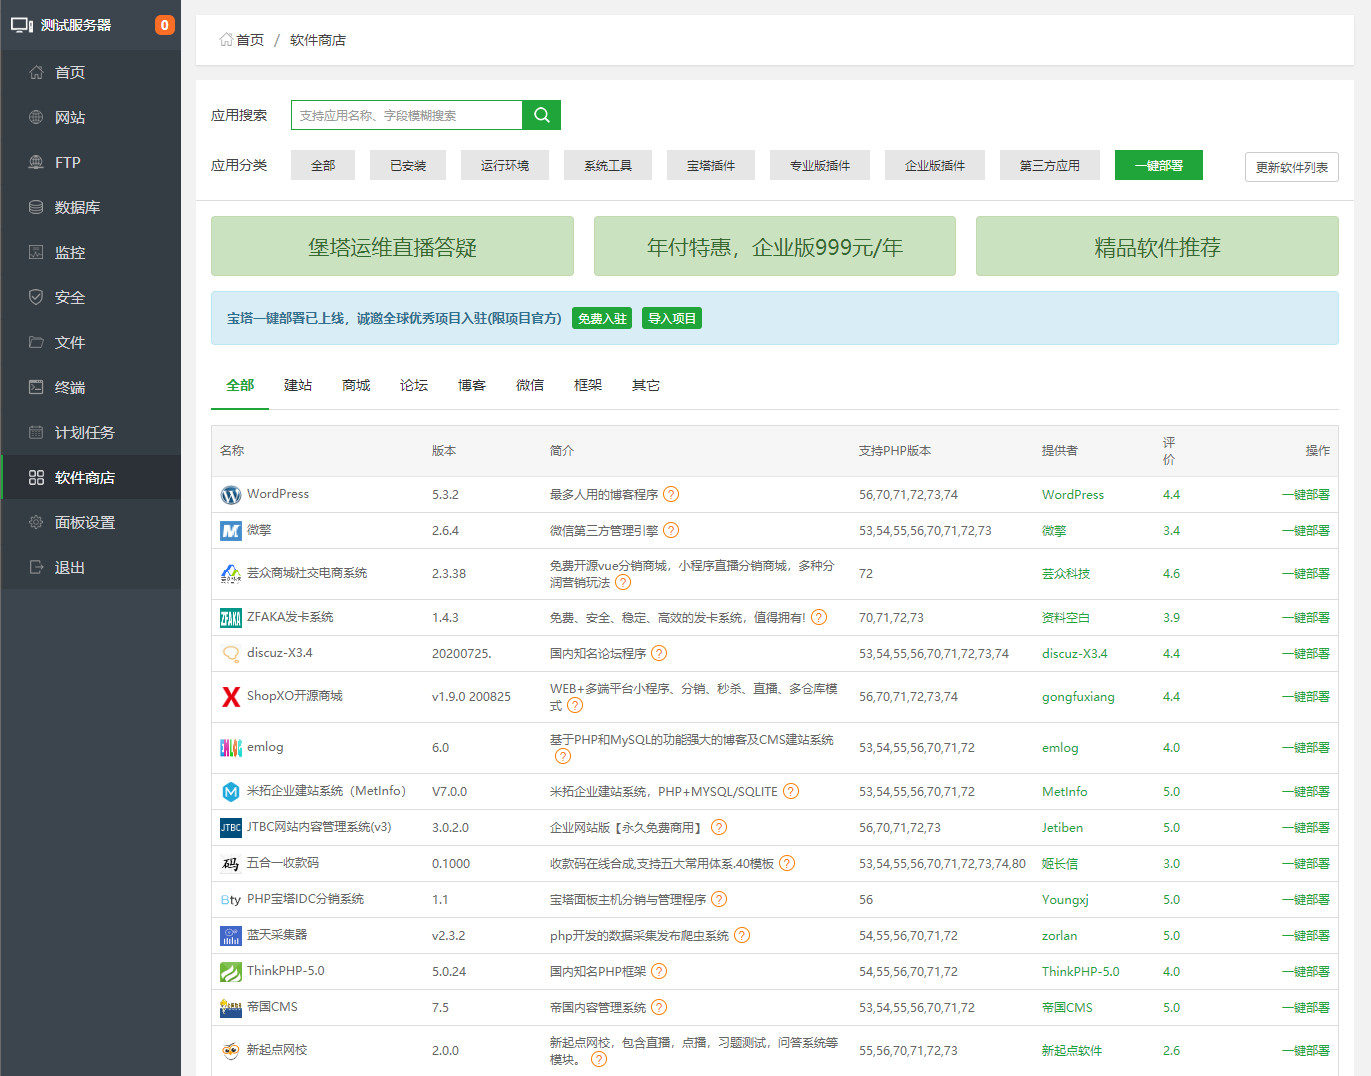
一键部署源码
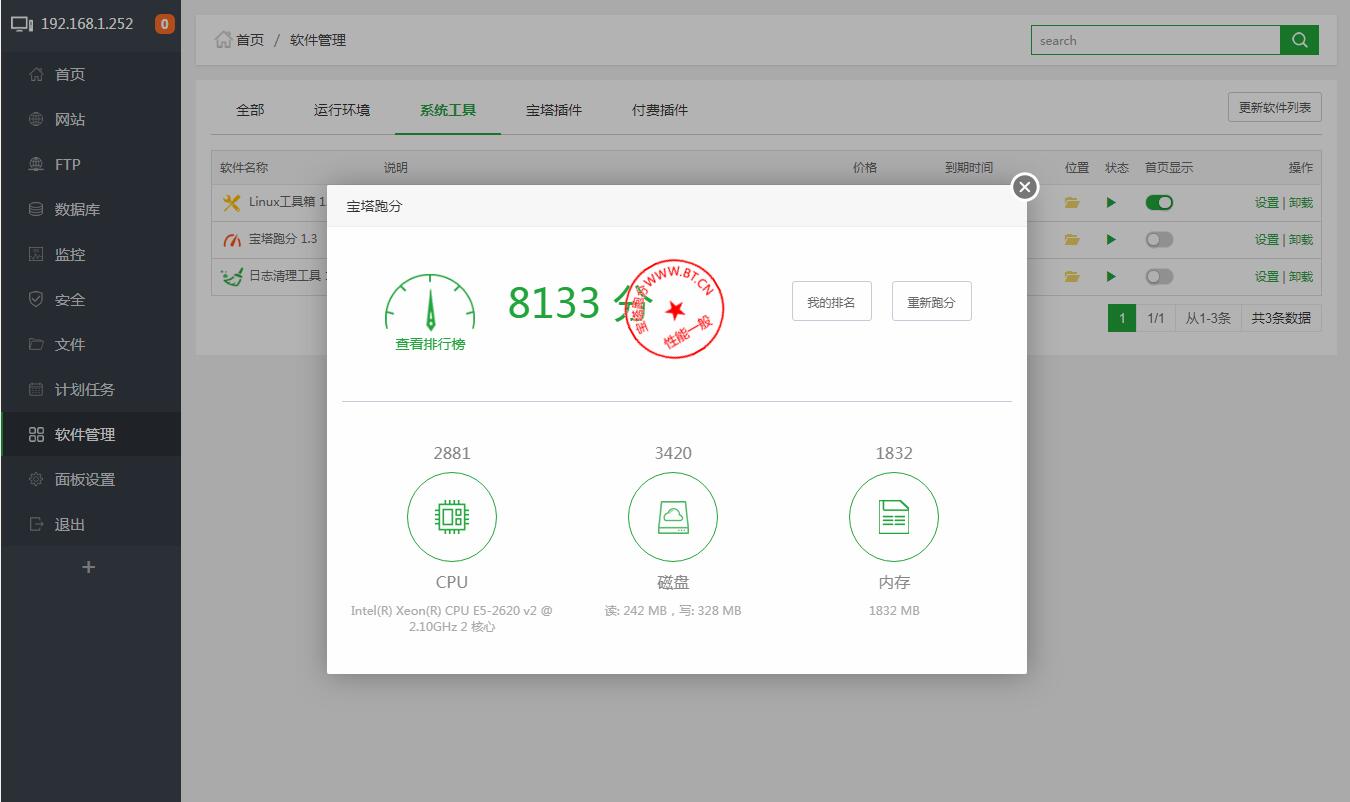
服务器跑分
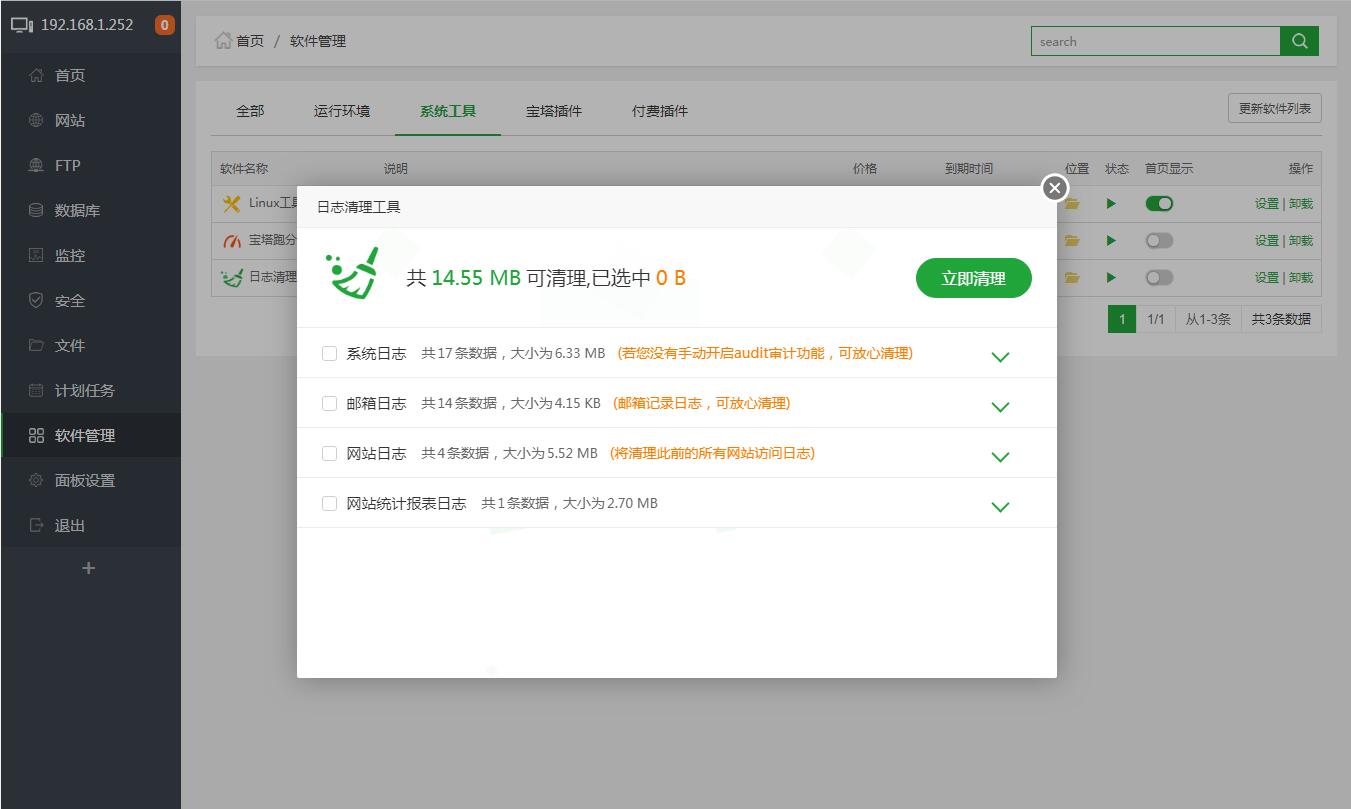
日志清理
宝塔终端
以上为部分功能界面截图,如需了解更多,敬请安装体验,一行代码,2分钟能装好。







xiaohui Lv.1
4月3日
见到过!